
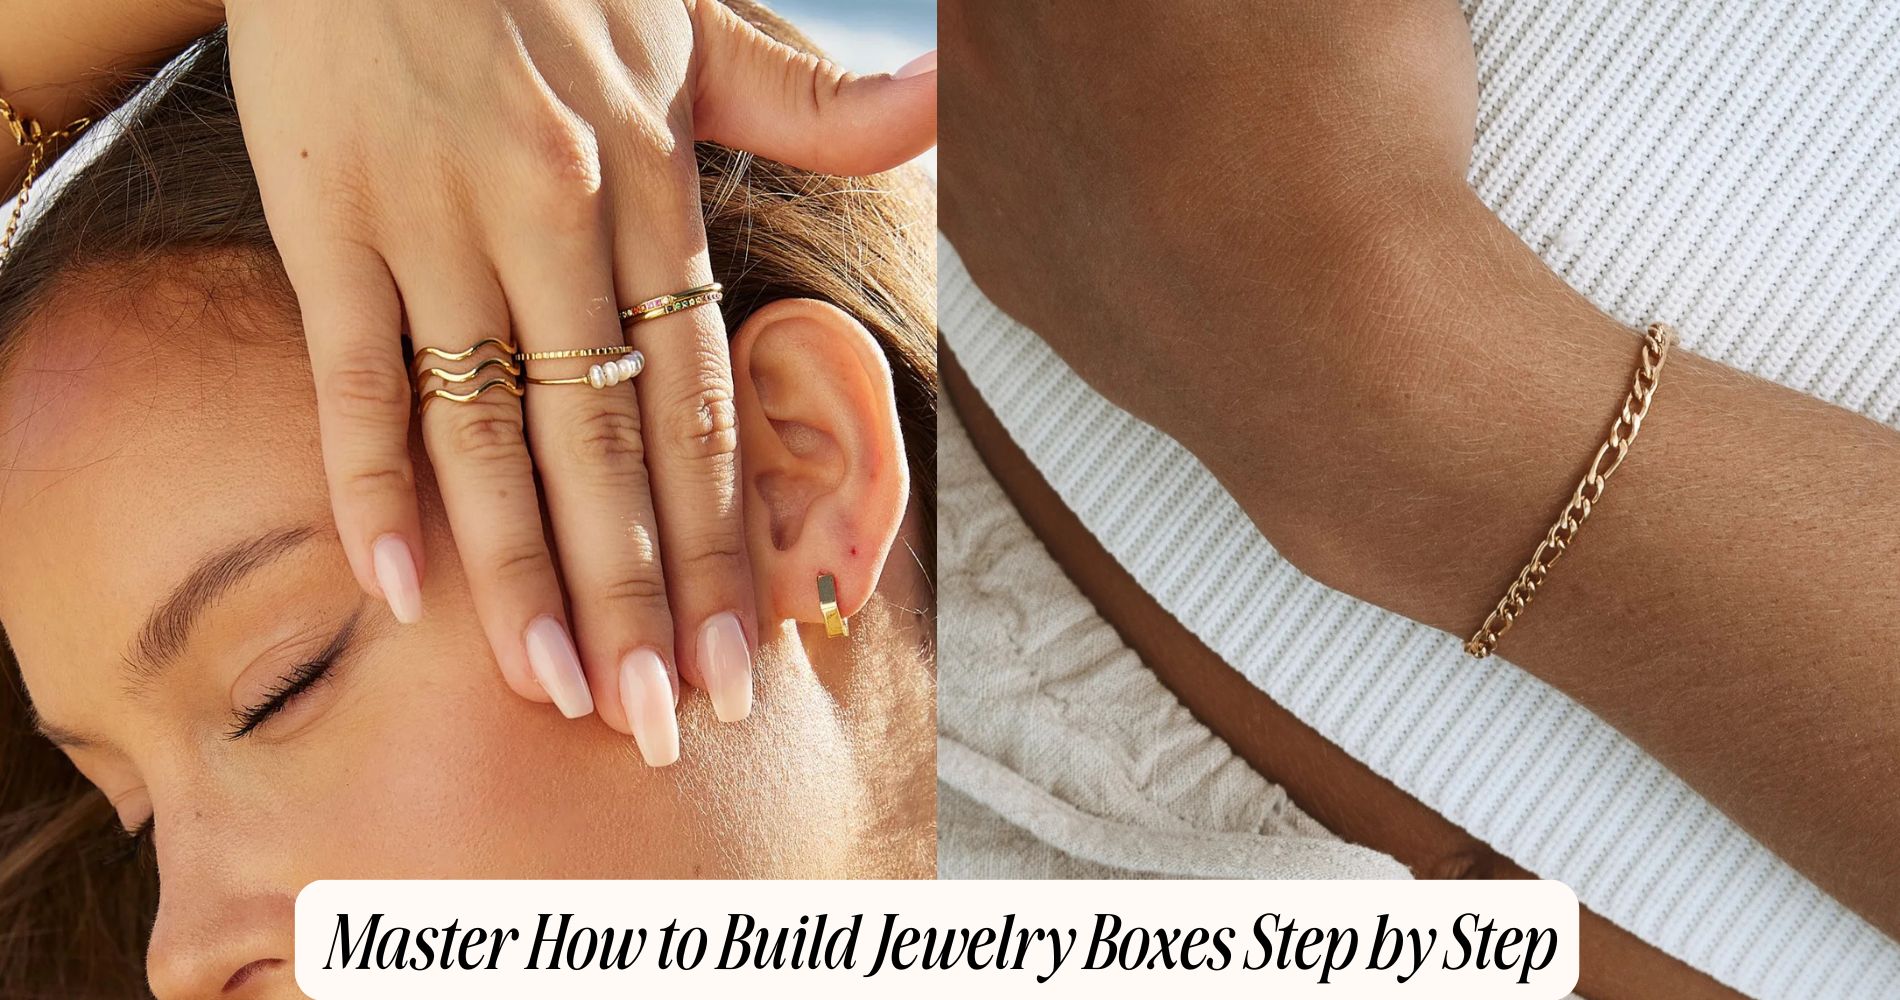
Master How to Build Jewelry Boxes Step by Step
If you're wondering how to build jewelry boxes, start by choosing flawless, closed-grain hardwoods like maple or walnut, avoiding any boards with knots or warping. Use precision tools such as a dovetail saw, block plane, and digital caliper to ensure accurate joinery and clean cuts. Sketch your design with detailed projections, map out compartments, and mark all measurements with a sharp knife for precision. Pay close attention to grain orientation during assembly, then sand with progressively finer grits before applying a durable finish. For boxes designed to hold modern, streamlined pieces—like those in our Minimalist Jewelry collection—refined techniques for compartment creation and decorative detailing will elevate your craftsmanship.
Selecting the Perfect Wood and Materials
When selecting wood for your jewelry box, prioritize species with tight, closed grains such as maple, cherry, or walnut, as these provide both dimensional stability and a refined surface for finishing.
Analyze wood types based on their hardness, workability, and resistance to environmental fluctuations. Maple excels for its uniform texture, while cherry offers a rich patina that deepens with age. Walnut brings a striking color contrast and fine grain pattern.

For interior dividers or lining, consider aromatic cedar to repel moisture and pests.
When evaluating material choices, avoid woods prone to warping or excessive movement, such as pine or poplar. Select materials free of knots and defects to guarantee clean joinery and ideal adhesion for finishes, resulting in a professional-grade jewelry box.
Essential Tools for Jewelry Box Crafting
Precision defines every stage of jewelry box construction, making the selection of essential tools a critical foundation for success.
You’ll rely on toolbox essentials such as a finely tuned dovetail saw for intricate joinery, a low-angle block plane for flush fitting, and precision chisels for crafting delicate recesses.
Utilize a digital caliper to guarantee exact measurements, and a sharp marking knife to achieve crisp layout lines.
Employ clamps for maintaining joint integrity during adhesive curing, and a micro-grit sanding block to perfect surface finish.
Incorporate a pin vise for micro-hardware installation, ensuring minimal material disruption.
Mastering these tools enables advanced crafting techniques—miters, rabbets, and inlay work—while maintaining accuracy throughout assembly.
Equip your workspace with these essentials to elevate both craftsmanship and efficiency.
Planning Your Jewelry Box Design
How do you translate aesthetic vision into a functional heirloom? Begin by curating inspiration sources—examine period furniture, modern minimalism, or organic motifs to guide your conceptual framework.
Analyze joinery techniques, material harmonization, and ergonomic considerations to guarantee your design is both visually compelling and structurally sound.
Next, convert abstract ideas into tangible design sketches. Utilize orthographic projections and isometric renderings to articulate dimensions, compartmentalization, and lid mechanisms.

Deliberately map out interior divisions and hardware placements for maximum utility. Assess proportional relationships and grain orientation to enhance both durability and visual flow.
Measuring and Cutting the Pieces
Before you make the first cut, calibrate your measuring tools to confirm accuracy to within a fraction of a millimeter; even marginal discrepancies can compromise joinery integrity.
Begin by referencing your design schematics and transferring dimensions to your selected stock using a marking gauge or precision ruler. For accurate measurements, always measure twice before marking. Use a sharp marking knife rather than a pencil for crisp, unambiguous lines.
Employ a high-quality square to ascertain all lines are perfectly perpendicular or parallel as required. Secure your material to a stable surface before cutting.
For precise cuts, opt for a fine-toothed saw or a table saw with a zero-clearance insert. Maintain a steady feed rate and check each piece against its counterpart to verify dimensional conformity before proceeding.
Assembling the Box Structure
With all components accurately dimensioned, proceed to a dry fit by aligning each panel to verify the joinery interfaces—whether finger joints, miters, or rabbets—seat flush without gaps or misalignment.
Assess each corner for squareness using a precision engineer’s square. Once satisfied with the fit, disassemble and apply wood glue to the mating surfaces, favoring even distribution to prevent squeeze-out and guarantee ideal adhesion.
Reassemble the panels, engaging your chosen box joining techniques, and clamp the assembly with parallel bar clamps or band clamps, maintaining uniform pressure. Confirm the box remains square throughout curing to maximize structure stability.

Wipe excess glue promptly. Allow the adhesive to cure fully according to manufacturer’s specifications before removing clamps, consequently ensuring the box structure remains rigid and true.
Crafting Compartments and Dividers
Multiple internal compartments transform a jewelry box from simple storage to a functional organizer, demanding precise planning and execution.
Begin by determining the ideal compartment sizes based on the types of jewelry you intend to store—rings, earrings, bracelets, or necklaces. Use calipers for accurate internal measurements, ensuring all dividers fit flush without impeding the box’s lid or sides.
Choose divider styles: fixed, removable, or slotted, depending on your organizational needs. For precision, cut hardwood strips or plywood to exact lengths, maintaining uniform thickness for structural integrity.
Dry-fit each divider, then secure with wood glue or micro-screws, taking care to avoid excess adhesive. Sand all contact edges for a seamless interface, and verify the alignment before final assembly to guarantee functional, custom compartments.
Adding Hinges, Latches, and Hardware
Two essential elements—hinges and latches—dictate the functionality and security of your jewelry box. Select hardware types that complement your box’s design and intended use; consider concealed barrel hinges for a seamless aesthetic or decorative butt hinges for a classic look.
For ideal hinge placement, measure and mark precise locations equidistant from each edge of the lid, typically one inch from the ends. Pre-drill pilot holes to prevent wood splitting, using a bradawl for accuracy. Secure the hinges with flush-fit screws, ensuring smooth articulation and proper alignment.
Choose latches that match your selected hardware types, whether it’s a magnetic catch for ease or a hasp for added security. Install the latch centrally, verifying alignment before fastening to guarantee consistent closure.
Sanding and Finishing Techniques
After securing the hinges and latches, shift your focus to surface preparation for flawless results.
Begin with progressive sanding techniques, starting at 120-grit to eliminate mill marks and glue residue, then incrementally move to 180- and 220-grit sandpapers for a refined surface. Always sand with the grain to prevent cross-grain scratches. Use a sanding block for flat surfaces and hand-sand delicate edges to preserve profiles.
Once satisfied, remove dust with a tack cloth or compressed air.
For ideal protection and aesthetics, select finishing methods tailored to your wood species. Apply a wood conditioner if necessary, followed by even coats of stain or dye using lint-free cloths or foam brushes.
Seal with shellac, lacquer, or polyurethane, sanding lightly between coats for a glass-smooth finish and maximum durability.
Personalizing With Decorative Details
A variety of precise decorative techniques allow you to transform your jewelry box from functional storage to a personalized heirloom.
Start by selecting your approach—decorative painting or custom engraving. For decorative painting, apply a primer to the sanded surface, then use fine brushes and archival-quality paints to execute intricate motifs, ensuring even, controlled brushwork.
Layer colors gradually, allowing proper drying intervals to prevent muddling.
With custom engraving, employ precision tools such as a rotary engraver or hand gravers. Secure the box to prevent movement, then trace your design using a steady, even pressure for consistent depth and clarity.

Afterward, seal the decorated surfaces with a clear lacquer or polyurethane to protect your work, enhancing both durability and visual impact.
Frequently Asked Questions
How Do I Safely Store Different Types of Jewelry in My Box?
To optimize jewelry organization, utilize compartmentalized storage with soft, non-abrasive linings. Segregate metals to prevent tarnishing, allocate padded slots for rings, and employ necklace hooks to avert tangling. These jewelry organization tips preserve condition and accessibility efficiently.
What’S the Best Way to Clean and Maintain a Finished Jewelry Box?
To clean your finished jewelry box, employ non-abrasive cleaning techniques—use a microfiber cloth and pH-neutral cleaner. For maintenance tips, periodically inspect hinges for oxidation and lubricate them with precision oil to guarantee lasting structural integrity and operation.
Can I Repair a Broken Jewelry Box Hinge at Home?
You can execute DIY repairs for a broken jewelry box hinge. Employ precise hinge replacement by extracting damaged fasteners, aligning new hinges with pilot holes, and securing them with appropriate screws, ensuring mechanical integrity and seamless articulation of the lid.
Are There Eco-Friendly Alternatives to Traditional Wood Finishes?
Yes, you can opt for eco-friendly alternatives like natural oils—linseed or tung—and low-VOC eco stains. Apply natural oils with a lint-free cloth, allowing deep wood penetration, then buff for a durable, biodegradable finish.
How Can I Child-Proof a Jewelry Box to Keep Contents Secure?
To child-proof your jewelry box, install child locks with tamper-resistant mechanisms on all access points. Incorporate secure drawer dividers, ensuring each compartment has a snug fit, minimizing movement and deterring unauthorized access while maintaining thorough organizational integrity.
Conclusion
By mastering each meticulous step—from material selection and precision joinery to intricate compartmentalization and sophisticated finishing—you'll elevate your jewelry box craftsmanship to a professional standard. Employ advanced techniques such as precision miters, mortise-and-tenon joints, and custom inlays to guarantee structural integrity and aesthetic allure. As you refine your methods and embrace high-quality hardware, your creations will not only safeguard valuables but also stand as enduring showcases of your technical expertise and artisanal dedication.


Leave a comment
This site is protected by hCaptcha and the hCaptcha Privacy Policy and Terms of Service apply.