
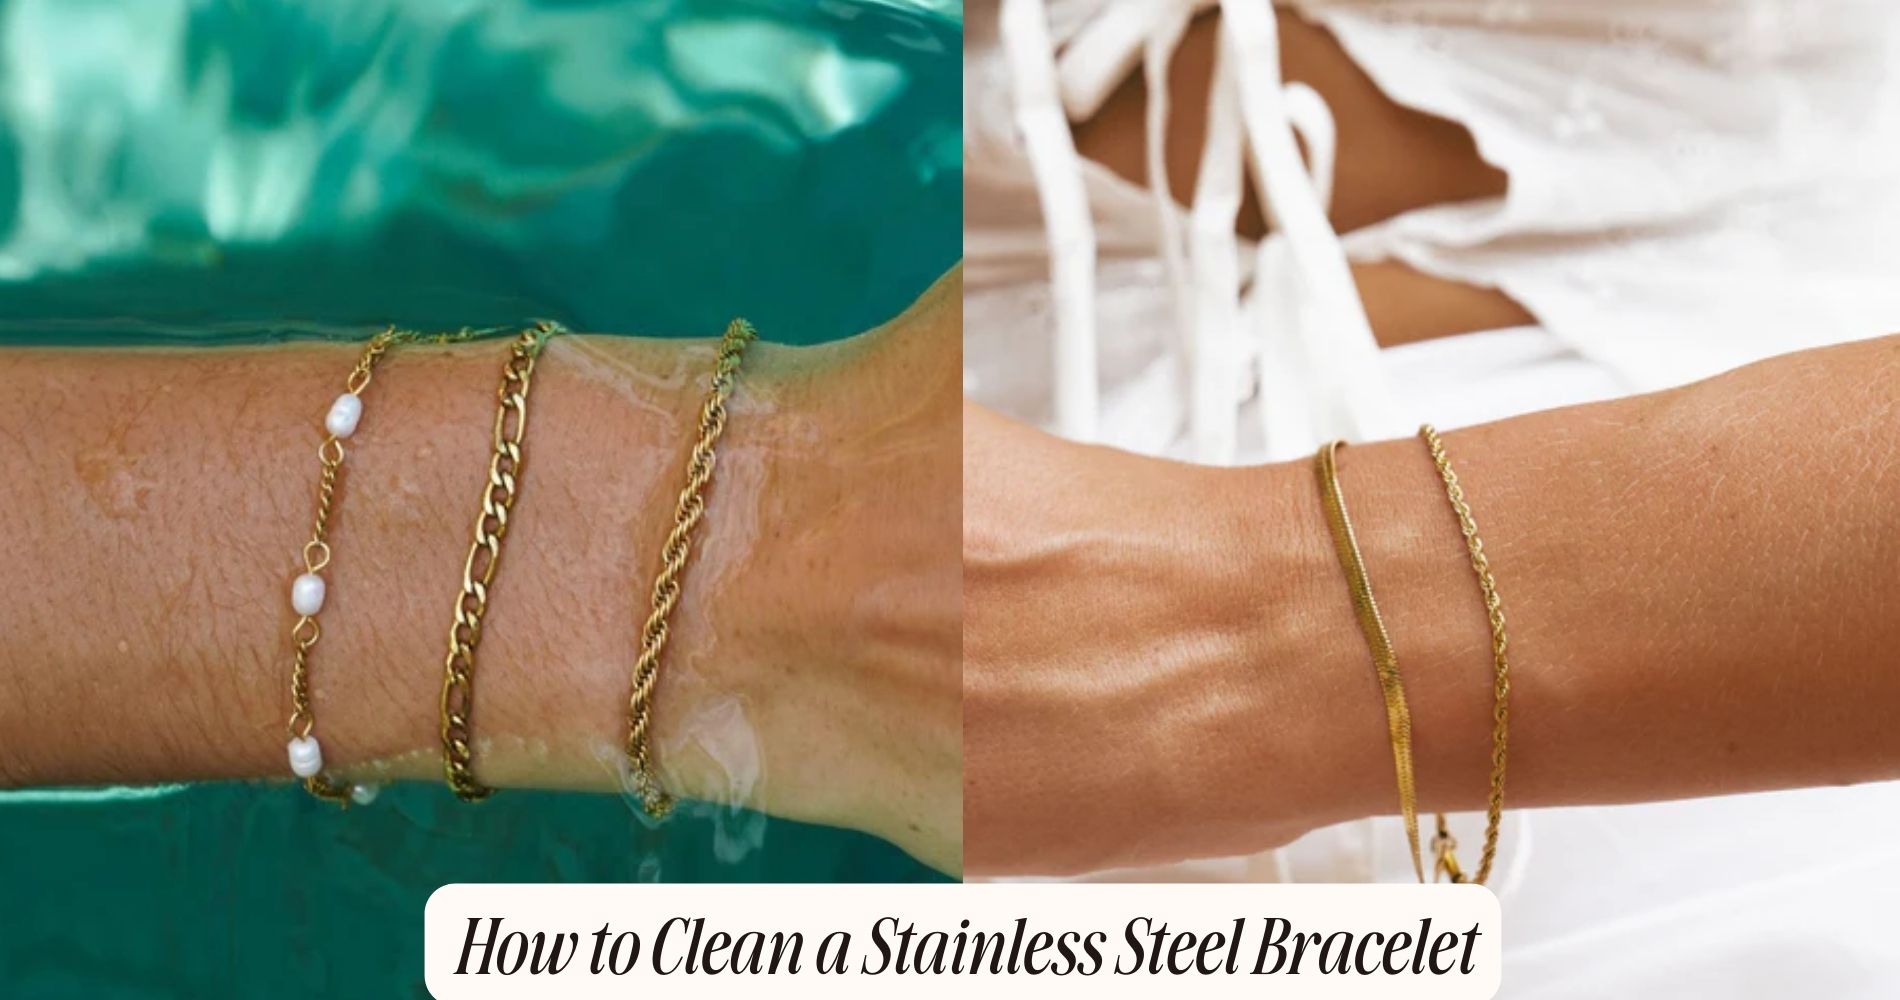
How to Clean a Stainless Steel Bracelet
Learning how to clean a stainless steel bracelet properly can extend its life and restore its shine. Start by unclasping the bracelet and checking for any damage. Prepare a cleaning solution by mixing warm water with mild dish soap in a small bowl. Submerge the bracelet and allow it to soak for about 15-20 minutes. After soaking, gently scrub the bracelet with a soft-bristled toothbrush, paying special attention to the links and crevices to remove dirt and grime. Rinse the bracelet under lukewarm water to ensure all soap is washed off. Dry it with a lint-free cloth and let it air dry completely. For extra shine, apply a high-quality metal polish and buff the bracelet in circular motions using a soft cloth. Ensure all residue is removed before reattaching the bracelet. For more useful maintenance tips and to explore durable, stylish options, check out our Waterproof Bracelets collection.
Gather Your Supplies
To begin cleaning your stainless steel bracelet, you'll need to gather a few essential supplies to guarantee an effective and thorough process. First, make sure you have a soft cloth or microfiber towel. This will be important for wiping down your bracelet without scratching its surface.
Next, prepare a small bowl of warm water mixed with a few drops of mild dish soap. This solution will help in removing dirt and grime.
Having a soft-bristled toothbrush on hand is also essential. It can reach into the small crevices of your bracelet, ensuring a thorough clean. Additionally, you'll need a lint-free cloth for drying the bracelet after cleaning to avoid water spots and streaks.
Before you start, create a suitable cleaning environment. Choose a well-lit, clutter-free space where you can comfortably work without distractions. Make sure your supply storage is organized, so you can quickly access all your cleaning tools.
A tray or a small container can help keep your supplies in one place, preventing them from getting misplaced. By setting up this organized and efficient cleaning environment, you're well-prepared to proceed with the cleaning process.
Remove the Bracelet
Begin by unclasping the bracelet carefully to avoid any potential damage. Use a soft cloth to hold the bracelet steady to prevent it from slipping. If your bracelet has a complicated clasp mechanism, familiarize yourself with its operation to avoid unnecessary force.
For bracelets attached to watches, you'll need proper tools, such as a spring bar tool, to assist in the detachment process. Insert the forked end of the spring bar tool between the lugs of the watch where the bracelet connects. Gently push the spring bar inward to release the bracelet.

When dealing with bracelets that have pins instead of spring bars, use a pin pusher tool. Position the tool over the pin and apply gentle pressure until the pin slides out. Remember, the detachment technique requires patience and a steady hand to avoid scratching or damaging the bracelet.
Once the bracelet is detached, place it on a clean, soft surface to prevent any additional scratches. Inspect the bracelet for any loose links or damage before proceeding with the cleaning process.
Properly detaching the bracelet guarantees that both the bracelet and the watch remain in excellent condition during cleaning.
Prepare Cleaning Solution
First, gather all necessary supplies, including a small bowl, mild dish soap, and a soft-bristled brush.
Next, choose the appropriate cleaning agents, ensuring they're suitable for stainless steel.
Gather Necessary Supplies
Before delving into the cleaning process, you'll need to gather a few essential supplies to prepare an effective cleaning solution. First, make sure you have several cleaning cloths on hand. Microfiber cloths are particularly effective because they won't scratch the stainless steel surface and are excellent at picking up dirt and grime.
Next, it's important to safeguard your hands by wearing safety gloves. Cleaning agents can sometimes be harsh on the skin, and gloves will keep your hands safe from any potential irritation. Opt for gloves that are durable yet comfortable to wear for extended periods.
You'll also need a small container or bowl to mix your cleaning solution. Ensure the container is clean and free from any previous residues. Additionally, having a soft-bristled toothbrush or a small, soft-bristled brush can help you reach intricate areas of the bracelet that a cloth might miss.
Lastly, keep some paper towels or an old towel nearby for drying the bracelet once it's clean. These supplies will make certain that you're well-prepared to tackle the cleaning process efficiently and effectively, leaving your stainless steel bracelet looking pristine.
Choose Cleaning Agents
Now that you have your supplies ready, let's focus on selecting the appropriate cleaning agents to prepare an effective cleaning solution for your stainless steel bracelet. You have a choice between natural cleaners and chemical alternatives, each offering unique benefits.
For a natural cleaner, consider using white vinegar. It's a powerful, non-toxic option that effectively removes grime and tarnish. Mix it with water to create a mild solution that won't damage your bracelet.
Another excellent natural cleaner is baking soda. When combined with water, it forms a gentle abrasive paste perfect for scrubbing away stubborn dirt without scratching the metal.

If you prefer chemical alternatives, a mild dish soap can be your go-to. Dish soap is designed to cut through grease and oils, which is particularly useful if your bracelet has accumulated a lot of body oils and sweat. Make sure the dish soap is free of harsh chemicals and abrasives to maintain the integrity of the stainless steel.
Mix Proper Ratios
To prepare the cleaning solution, combine one part white vinegar with three parts water in a small bowl. Be sure you measure the ratios accurately to maintain the solution's effectiveness. Use a standard measuring cup or a graduated cylinder for precision. White vinegar is an excellent natural cleaner and is safe for stainless steel.
Next, stir the mixture thoroughly using a clean spoon or a small whisk. Mixing tools like these ensure the vinegar and water blend evenly, providing a consistent cleaning solution. If you plan to clean your stainless steel bracelet frequently, consider mixing larger batches and storing them in a sealed container for future use.
Cleaning frequency depends on your bracelet's usage. If you wear it daily, clean it every two weeks to prevent buildup of oils and dirt. For occasional wear, monthly cleaning should suffice. This regular maintenance keeps your bracelet looking pristine and extends its lifespan.
Soak the Bracelet
Begin by choosing a suitable cleaning solution, such as mild dish soap mixed with warm water.
Submerge the stainless steel bracelet completely, ensuring it's fully covered by the liquid.
Let it soak for 15-20 minutes to loosen any dirt or grime.
Choose Cleaning Solution
When selecting a cleaning solution for your stainless steel bracelet, choose a mild dish soap mixed with warm water to guarantee gentle yet effective cleaning. This combination guarantees that your bracelet remains free from damage while removing dirt and grime efficiently. Avoid using abrasive chemical alternatives that could potentially harm the stainless steel surface. Instead, stick to household natural cleansers like baking soda or white vinegar when necessary. These options are gentle on your bracelet and equally effective in maintaining its shine.
To prepare the cleaning solution, fill a small bowl with warm water and add a few drops of mild dish soap. Stir the mixture until it becomes sudsy. Make sure the water isn't too hot, as extreme temperatures can affect the metal's integrity.
Submerge the bracelet in this solution, making sure it's entirely covered by the soapy water. Using a mild solution helps protect the bracelet's coating and prevents any potential discoloration or scratches.
Soaking Duration
Allow the bracelet to soak in the soapy solution for about 10 to 15 minutes to loosen any accumulated dirt and grime effectively. This soaking time is important as it gives the cleaning agents in the soap ample opportunity to penetrate and break down the oils, sweat, and other residues that have built up on your stainless steel bracelet.
Ensure the bracelet is completely submerged during this immersion duration. You might need to occasionally stir the solution gently to help dislodge any stubborn particles. The soaking time isn't just about waiting; it's an active process where the solution works to clean every nook and cranny of the bracelet.

While the bracelet is soaking, resist the urge to shorten the immersion duration. Cutting the soak time short might result in a less thorough clean, leaving behind traces of dirt and grime. If your bracelet is particularly dirty, you can extend the soaking time by a few minutes, but 10 to 15 minutes is generally sufficient for most cases.
After the soak, your bracelet will be ready for the next steps in the cleaning process, ensuring it looks as good as new.
Scrub With a Brush
Using a soft-bristled brush, gently scrub the stainless steel bracelet to remove any accumulated dirt and grime. The importance of the bristle type can't be overstated; a soft-bristled brush guarantees you won't scratch or damage the surface of your bracelet. Avoid using brushes with hard or metal bristles, as these can leave marks or scratches.
Focus on a systematic scrubbing technique. Hold the bracelet firmly and work in small sections, applying gentle pressure. Begin by scrubbing along the links, making sure to get into the crevices where dirt often hides. Use small, circular motions to dislodge grime without exerting too much force. Pay special attention to areas around the clasp and any engraved details, as these spots tend to accumulate more debris.
If your bracelet has intricate designs or tight spaces, consider using a toothbrush. Its smaller head and soft bristles can reach areas that a larger brush might miss. Throughout the process, periodically dip the brush in soapy water to make sure it stays effective.
Take your time and be thorough, ensuring every part of the bracelet is addressed. This methodical approach will help restore your bracelet's shine without causing any damage.
Rinse Thoroughly
After scrubbing, thoroughly rinse the bracelet under lukewarm running water to remove all the soap and loosened grime. The water temperature is vital; lukewarm water guarantees that the metal doesn't experience thermal shock, which can cause micro-damage over time.
Hold the bracelet under the faucet, allowing the water to flow over every part of it. Rotate the bracelet to make certain the water reaches all the crevices and links.
Use your fingers to gently manipulate the bracelet while rinsing. This helps to dislodge any remaining particles trapped in the links or clasp. If you have a detachable shower head, utilize it for a more controlled rinsing technique.
Direct the water stream into all the intricate parts of the bracelet, ensuring a thorough clean.
Pay special attention to the clasp area, as soap residue can easily accumulate there. Rinse the bracelet for at least one minute to guarantee all cleaning agents are completely washed away.
If you still see soap bubbles or feel any slipperiness, continue rinsing until the water runs clear and the bracelet feels clean to the touch. Don't rush this step; thorough rinsing is essential for maintaining the bracelet's shine and longevity.
Dry Completely
With the bracelet now thoroughly rinsed, it's important to dry it completely to prevent water spots and potential corrosion. Start by using a soft, lint-free towel to gently pat down the bracelet. This helps to remove the majority of the water without scratching the stainless steel surface. Make sure to get into the crevices and between any links, as water can easily accumulate in these areas.
After towel usage, consider allowing the bracelet to air dry for a short period. Place it on a clean, dry surface in a well-ventilated area. Make certain that the bracelet is laid flat and not bunched up, as this will facilitate even drying. Avoid direct sunlight or high-heat sources, which can cause discoloration or warping.

For best results, you might want to use a hairdryer on a cool setting to speed up the drying process. Hold the hairdryer at a safe distance to prevent any heat damage.
Once completely dry, inspect the bracelet to make sure no moisture remains. Proper drying is essential for maintaining the bracelet's shine and longevity, setting the stage for any further polishing or maintenance.
Polish the Bracelet
To restore your stainless steel bracelet's original luster, start by selecting a high-quality metal polish specifically designed for stainless steel. This ensures the polish is important enough to protect your bracelet while effectively removing any tarnish or dullness. Once you've chosen the right polish, apply a small amount to a soft, clean polishing cloth.
Begin by gently rubbing the bracelet in circular motions with the polishing cloth. This buffing technique helps to evenly distribute the polish and avoids scratching the surface. Pay extra attention to any areas that have lost their shine or appear discolored. Make sure you cover the entire bracelet, including the clasp and any intricate links.
After applying the polish, use a separate, clean polishing cloth to buff the bracelet. This step is essential for removing excess polish and providing a final shine. Employ the same circular buffing techniques, applying consistent pressure to enhance the bracelet's gleam.
Take your time and be thorough; rushing through this process can result in uneven polishing and missed spots. With patience and careful attention to detail, your stainless steel bracelet will regain its stunning, like-new appearance.
Inspect for Residue
After polishing, you should thoroughly inspect the bracelet for any remaining residue. Carefully check for dirt in crevices, identify any stubborn stains that might need extra attention, and spot hidden grime that could guarantee the bracelet's shine.
This detailed inspection secures every part of your stainless steel bracelet looks pristine.
Check for Dirt
Begin by examining the bracelet under a bright light to identify any areas where dirt or residue may be present. Hold the bracelet at various angles to make sure you're seeing all parts clearly. Pay special attention to the links and crevices, as these are common spots for dirt accumulation.
Look closely at the clasp and the area around it, as grime detection in these spots is essential for thorough cleaning. Use a magnifying glass if necessary to get a detailed view. This tool can help you see tiny particles that may not be visible to the naked eye.
Run your fingers gently over the surface to feel for any uneven textures that might indicate hidden dirt. If you notice any discoloration, it's a sign that residue has built up over time. Take note of the areas where dirt is most concentrated.
This initial inspection is important for planning your cleaning strategy. By pinpointing the dirtiest spots, you can focus your efforts more effectively. Remember, a meticulous inspection now will save you time and guarantee a more successful cleaning process later.
Identify Stubborn Stains
Thoroughly examine the bracelet for any stubborn stains or residues that may require special attention during the cleaning process. Inspect each link and the clasp carefully, focusing on areas that may have gathered oxidation marks. These marks often manifest as dark spots or discolorations and are usually the outcome of chemical reactions between the stainless steel and elements like sweat, lotions, or environmental pollutants.
You'll want to scrutinize the bracelet under good lighting. Rotate it to different angles to make sure you're not overlooking any hard-to-see spots. Use a magnifying glass if needed; this can assist you in identifying smaller areas where residues might be present. These residues could range from dried soap to mineral deposits or even rust-like stains caused by extended exposure to moisture.

When pinpointing stubborn stains, make a note of their appearance and location. This will help you determine the most suitable cleaning method to use later on. Keep in mind, stainless steel can withstand many forms of damage, but it's not completely impervious to chemical reactions that can leave lasting marks. Documenting these areas now ensures you'll address them effectively in the subsequent cleaning steps.
Spot Hidden Grime
Under the bright light, you should meticulously inspect every nook and cranny of the bracelet to spot hidden grime and residue that may not be immediately visible. Pay special attention to the areas where links connect, as these hidden crevices often harbor the most grime buildup. Use a magnifying glass if necessary to get a closer look at the intricate parts of the bracelet.
Carefully examine the clasp and any decorative elements, as dirt can easily accumulate in these less obvious places. Rotate the bracelet slowly, checking each segment thoroughly. If you notice any dark or discolored spots, it's a sign that grime buildup is present and needs to be addressed.
Don't rush this step; taking the time to identify all areas needing cleaning will ensure a more effective overall process. Once you've identified the hidden grime, you'll be better prepared to tackle these stubborn spots during the cleaning phase.
Reattach and Wear
Once the bracelet is thoroughly cleaned and dried, reattach any removable parts by aligning them carefully and securing them in place.
Start with the clasp. Make sure to reattach the clasp by aligning it with the corresponding link. Confirm it clicks into place securely, as a loose clasp can lead to the bracelet falling off.
Next, inspect the bracelet to verify all parts are reattached correctly. Look for any signs of misalignment or gaps that might suggest improper attachment. If everything looks good, proceed to check the bracelet's overall integrity. Gently tug on various sections to ensure each link is firmly in place.
To wear the bracelet properly, place it around your wrist and fasten the clasp securely. Make certain it's not too tight or too loose; it should sit comfortably on your wrist without restricting movement or sliding off easily. If the bracelet has an adjustable clasp, make any necessary adjustments to fit your wrist perfectly.
Frequently Asked Questions
Can I Use Household Vinegar to Clean My Stainless Steel Bracelet?
Yes, you can use household vinegar to clean your stainless steel bracelet. However, consider vinegar alternatives like mild soap and water. Clean it regularly, but avoid over-cleaning to maintain the bracelet's shine and durability.
How Often Should I Clean My Stainless Steel Bracelet?
You should clean your stainless steel bracelet every two weeks. Regular maintenance guarantees it stays shiny and free from dirt. By maintaining this cleaning frequency, you'll keep your bracelet looking new and well-preserved.
Is It Safe to Clean a Stainless Steel Bracelet With Gemstones the Same Way?
No, you can't use the same cleaning methods for a stainless steel bracelet with gemstones. Gemstone care requires gentler techniques to avoid damage. Use mild soap, water, and a soft brush for effective and safe cleaning.
Can I Use a Commercial Stainless Steel Cleaner Instead of a Homemade Solution?
Yes, you can use a commercial stainless steel cleaner. There are various types available, like sprays or wipes. Follow the application methods on the product's label to guarantee safe and effective cleaning of your item.
How Can I Prevent My Stainless Steel Bracelet From Tarnishing?
To prevent your stainless steel bracelet from tarnishing, avoid using harsh chemicals. Store it properly in a dry, airtight container to minimize exposure to moisture and air, which can accelerate tarnish.
Conclusion
Now that you've carefully cleaned your stainless steel bracelet, it's ready to shine on your wrist once more.
By following these steps—gathering supplies, soaking, scrubbing, drying, and polishing—you've guaranteed every link is spotless.
Always inspect for any leftover residue before reattaching.
Regular maintenance keeps your bracelet looking new and prolongs its life.
Wear it proudly, knowing it's as pristine as the day you got it.


Leave a comment
This site is protected by hCaptcha and the hCaptcha Privacy Policy and Terms of Service apply.