
Home Methods on How to Polish a Gold Ring Right
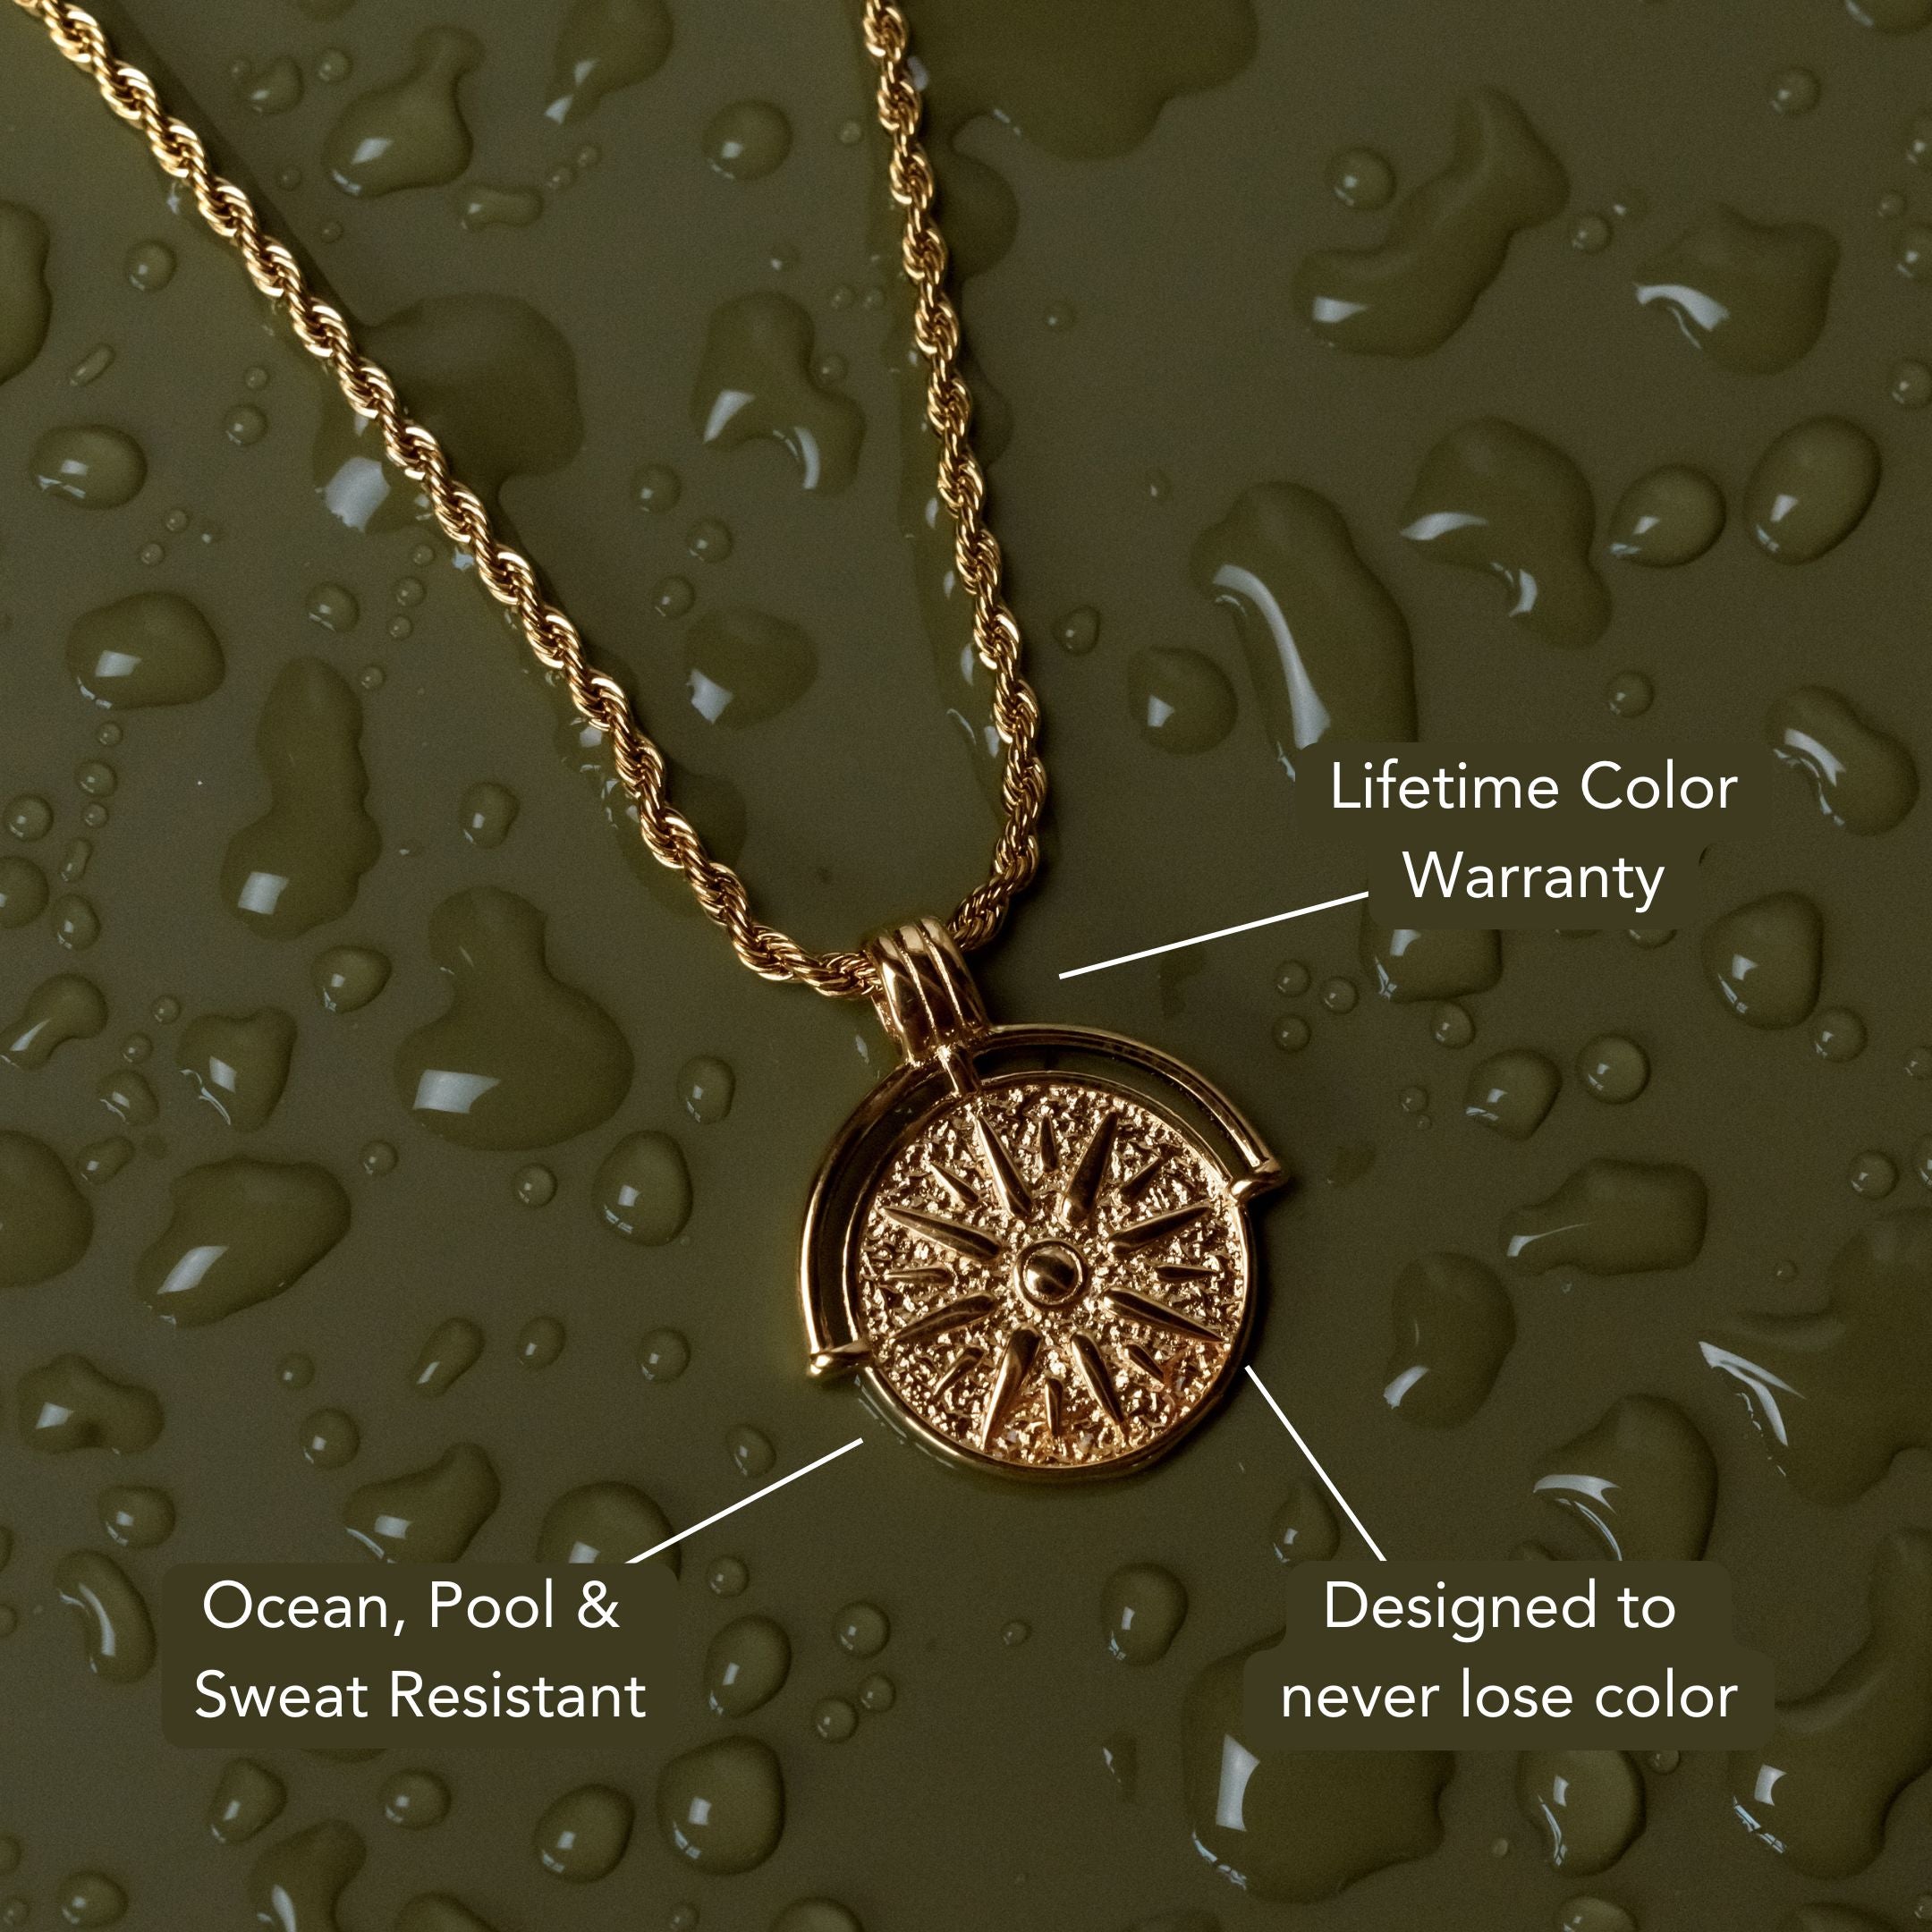
Learning how to polish a gold ring starts with identifying its karat (10K–22K) and finish—whether it’s mirror, satin, or rhodium-plated—since higher karat gold needs a gentler touch. If you’re caring for delicate pieces like those in Atolea’s Minimalist Gold Rings collection, this step matters even more. Gather your essentials: microfiber cloths, mild dye-free dish soap, a soft toothbrush, distilled water, isopropyl alcohol, and painter’s tape. For a quick clean, soak the ring in lukewarm soapy water for 5–7 minutes, brush lightly, rinse, and buff. For stubborn tarnish, apply a short-contact 3:1 baking soda paste, then rinse thoroughly. Always mask gemstones, avoid harsh chemicals and ultrasonic cleaners, and use minimal pressure. Once you’ve mastered the basics, you can move on to handling deeper grime, tight settings, and scratch control.
Understanding Gold Types and Finishes Before You Start
Before you touch a polishing cloth, identify the ring’s alloy, karat, and surface finish because each dictates the safest abrasive, compound, and technique.
You’re managing gold karat differences and mixed metal alloys, so confirm the stamp (10K, 14K, 18K, 22K) and note whether it’s yellow, white, or rose gold. Higher karat gold is softer; reduce pressure and select finer abrasives. Lower karat, harder alloys tolerate slightly more cut.
Verify finish: mirror polish, satin/brushed, bead-blast, or rhodium-plated. Don’t abrade plated surfaces; you’ll remove the coating.
With brushed or satin finishes, you must preserve the grain direction; cross-grain strokes will telegraph. Inspect for stones, channel edges, and solder seams—these overheat and burnish quickly.
Map high-wear zones and avoid rounding crisp geometry and hallmarks.
Supplies You’Ll Need From Around the House
With your ring’s alloy, karat, and finish identified, assemble low-risk, household-grade tools that won’t overcut soft gold or disturb plated surfaces.
Pull nonabrasive cleaning tools: microfiber lens cloths, lint-free cotton pads, and a soft-bristle nylon toothbrush (baby-soft). Add nitrile gloves to prevent skin oils redepositing. Use painter’s tape to mask stones, hallmarks, or plating changes.
Keep distilled water for rinse control, isopropyl alcohol (70%) for degreasing, and wooden toothpicks for debris dislodgement in prong seats and under galleries. A rubber bulb syringe improves directional rinsing.
Select mild, dye-free dish solution for surfactant action, and a small ceramic dish as a stable bath. For controlled luster, reserve a jeweler’s rouge-free, non-gel toothpaste substitute isn't advised.
Organize these household items on a clean, padded work surface.
Quick Clean: Mild Soap and Warm Water Method
Start by preparing a controlled, lukewarm bath: combine a few drops of dye‑free dish detergent with distilled water in a small ceramic dish, targeting 35–40°C to avoid thermal shock to stones or plated layers.
Submerge the ring in the soapy solution for 5–7 minutes to loosen skin oils and particulates. Using a soft, nylon-bristle brush, agitate gently along prongs, galleries, and under‑bezel areas; maintain the ring over the dish to prevent loss.
Rinse under a thin stream of warm water, keeping a mesh strainer beneath to catch small components. Inspect under bright, diffuse light for residual film.
Pat dry with a lint‑free microfiber, then buff lightly using linear strokes to restore luster without abrading. Finish with a compressed‑air puff to clear moisture from crevices.
Tackling Tarnish With Baking Soda Paste
If a mild soap bath left a faint yellow‑gray cast, address surface tarnish with a controlled baking‑soda slurry. Prepare a paste by combining baking soda with deionized water at a 3:1 ratio; aim for a thixotropic consistency that clings without running.
Mask gemstones and porous inlays with painter’s tape. Using a soft, nonwoven microfiber or a baby‑soft toothbrush, apply minimal pressure and move along the grain of the metal to avoid micro‑abrasion.
Treat crevices with a cotton swab; reapply paste sparingly as it loads with oxides. After 45–60 seconds, rinse thoroughly with lukewarm water to halt action, then pat dry with lint‑free tissue.
Inspect under bright, diffuse light. Repeat once if needed. This controlled method delivers effective tarnish removal while preserving finish integrity.
Using Ammonia Safely for Stubborn Grime
Although ammonia can break down oily residues and embedded grime that soaps can’t, you must control its concentration and exposure to protect the gold and any set stones.
Apply ammonia precautions: confirm the alloy, avoid plated or antique pieces, and never use on pearls, opals, emeralds, or porous settings.
Mix a safe dilution—one part clear household ammonia to ten parts distilled water—in a ventilated area. Don nitrile gloves and eye protection.

Submerge the ring for 30–60 seconds only; agitate gently with a soft-bristled brush to dislodge debris. Rinse immediately under cool distilled water to halt chemical action, then pat dry with a lint-free towel.
Inspect prongs and seats for loosened debris. If residues persist, repeat once; don’t extend soak times.
Polishing With a Soft Cloth for a Mirror Shine
Buff the clean ring with a nonabrasive, lint-free polishing cloth designed for precious metals to build a true mirror finish.
Hold the band firmly and work in straight, overlapping strokes along the metal’s grain to minimize hairline swirl marks. Apply light, consistent pressure; let the microfine impregnated cloth do the cutting and burnishing.
Rotate the ring periodically to maintain even contact and avoid flats.
Use soft cloth techniques: start with a charged side for initial oxide removal, then switch to an uncharged section for final burnish.
Wipe away residue between passes to prevent redepositing particulates. Maintain a dry surface—moisture reduces friction and gloss.
Continue until you’re achieving mirror shine, then perform a final buff with a fresh, clean area to lock in optical reflectivity.
Protecting Gemstone Settings and Delicate Mounts
Before any polishing passes, stabilize and shield the setting to prevent abrasion, loosening, or thermal shock. Support the ring on a soft bench pad and brace the head with your non‑dominant hand.
For gemstone protection, mask prongs, bezels, and galleries with low‑tack polyethylene tape or a nitrile finger cot trimmed to fit. Slip a microfiber buffer between the stone and your cloth so pressure loads the metal, not the crown or girdle.
Inspect prong tension with a loupe; if a tip lifts or rocks, postpone polishing and have it tightened. Use short, linear strokes parallel to prongs to avoid snagging.
For delicate settings—pavé, micro‑prong, channel—keep strokes outside the stone field and polish the shank first. Maintain light, even pressure and recheck seat integrity after each pass.
What to Avoid: Abrasives, Harsh Chemicals, and Common Mistakes
Even when the goal is a high luster, avoid media and methods that cut too aggressively or destabilize the ring.
Steer clear of abrasive materials like sandpaper, scouring pads, and valve-grinding compound; they remove metal rapidly, round crisp geometry, and thin prongs.
Don’t use rotary tools at high RPM without torque control—heat and chatter induce microfractures and distortion.
Skip harsh chemicals. Chlorine, bleach, and ammonia can trigger chemical reactions that embrittle solder joints and stress karat gold alloys.
Avoid acidic dips on gold-plated items; they attack the substrate and lift the plating.
Never mix chemicals; you risk toxic gases and unpredictable etching.
Don’t polish when the ring is contaminated with grit; pre-clean first.
Use separate cloths for polishing and cleaning to prevent cross-contamination and unintended abrasion.
Dealing With Light Scratches at Home
Although professional refinishing yields the most uniform results, you can minimize light swirl marks at home with controlled, non-cutting methods.
Verify alloy and plating first: solid 14k–18k tolerates gentle burnishing; vermeil or thin gold plating demands ultra-low pressure. Clean the ring with a pH-neutral jewelry solution and lint-free microfiber to remove embedded grit.
For light scratches, apply a small amount of jeweler’s rouge-free polishing compound or a non-abrasive micro-polish formulated for gold. Using a high-density microfiber or suede chamois, burnish in straight, with-the-grain strokes; avoid circular motion that amplifies halos.

Stabilize stones with a soft clamp; keep heat and vibration minimal. Rinse with distilled water, blot dry, then inspect under 10x magnification. Repeat only if necessary.
These home remedies improve reflectivity without cutting metal.
Routine Care Habits to Keep Your Ring Brilliant
Because daily wear quietly dulls luster, set a strict maintenance cadence that preserves finish and minimizes metal loss.
Establish daily maintenance: remove the ring during abrasive tasks, chlorinated swimming, and gym work. Wipe with a lint-free microfiber cloth after wear to lift skin oils and particulates.
Schedule routine cleaning weekly: soak in lukewarm water with a drop of mild, ammonia-free dish detergent, agitate gently, and brush crevices with a soft 000 nylon or natural-bristle brush. Rinse thoroughly and dry with compressed air or a clean cloth to prevent water spotting.
Monthly, inspect prongs, channels, and solder seams under bright light for wear, misalignment, or looseness. Store separately in a soft-lined compartment.

Avoid ultrasonic units for gemstone-set rings unless stone integrity is verified. Use polish sparingly to limit abrasion.
Frequently Asked Questions
How Can I Verify a Ring Is Real Gold at Home?
Use gold testing at home: check hallmarks, verify density (mass/volume ≈ 19.3 g/cm³ for pure), perform a magnet test, streak on unglazed ceramic, then conduct an acid test with appropriate karat acids, observing dissolution or color change.
Will Ultrasonic Cleaners Damage Hollow or Antique Gold Rings?
Yes—ultrasonic cleaner risks include collapsing thin walls, loosening solder seams, and releasing stones. For antique jewelry care, avoid ultrasonics on hollow, foil‑backed, glued, micro‑pavé, or fracture‑filled pieces; instead, use mild detergent, soft brush, and manual inspection.
Can I Safely Polish Gold-Plated Rings Without Thinning Plating?
Yes, but use safe methods to avoid thinning gold plating: mild dish soap, microfiber cloth, light pressure, straight strokes, no abrasives or polishing compounds, avoid ultrasonic cleaners, limit frequency, rinse thoroughly, pat dry, and store separately to minimize friction.
How Does Hard vs. Soft Water Affect Gold Cleaning Results?
Hard water reduces cleaning effectiveness by depositing calcium/magnesium scale and soap scum on gold, dulling luster. You’ll get superior outcomes with soft water; it enhances surfactant performance, improves soil suspension, prevents residue, and minimizes micro-abrasive particulates that can haze finishes.
What’s the Best Storage to Minimize Micro-Scratches Between Wears?
Use compartmentalized jewelry boxes with flocked liners and individual soft pouches. Avoid abrasive contact, humidity, and mixed metals. Store each ring separately, bezel-up, in anti-tarnish microfibers. Add silica desiccants, control temperature, and inspect settings before stowing to prevent micro-scratches.
Conclusion
You’ve now got proven, low-risk methods to clean and polish your gold ring at home. Identify karat, plating, and finish, then select the least aggressive process first: soap bath, baking soda slurry, or diluted ammonia. Shield gemstones and prongs, avoid abrasives and chlorine, and spot-test before full application. For micro-scratches, use a jeweler’s cloth sparingly. Finish with a lint-free dry and soft buff. Establish a routine cadence to maintain luster and minimize cumulative wear.


%20and%20finish%E2%80%94whether%20it%E2%80%99s%20mirror,%20satin,%20or%20rhodium-plated%E2%80%94since%20higher%20karat%20gold%20needs%20a%20gentler%20touch.%20If%20you%E2%80%99re%20cari...)
Leave a comment
This site is protected by hCaptcha and the hCaptcha Privacy Policy and Terms of Service apply.